Editing Images
Images can be added to your listing from GarageSale’s Photo browser, from the Finder, or through the “+” button in Editor mode.
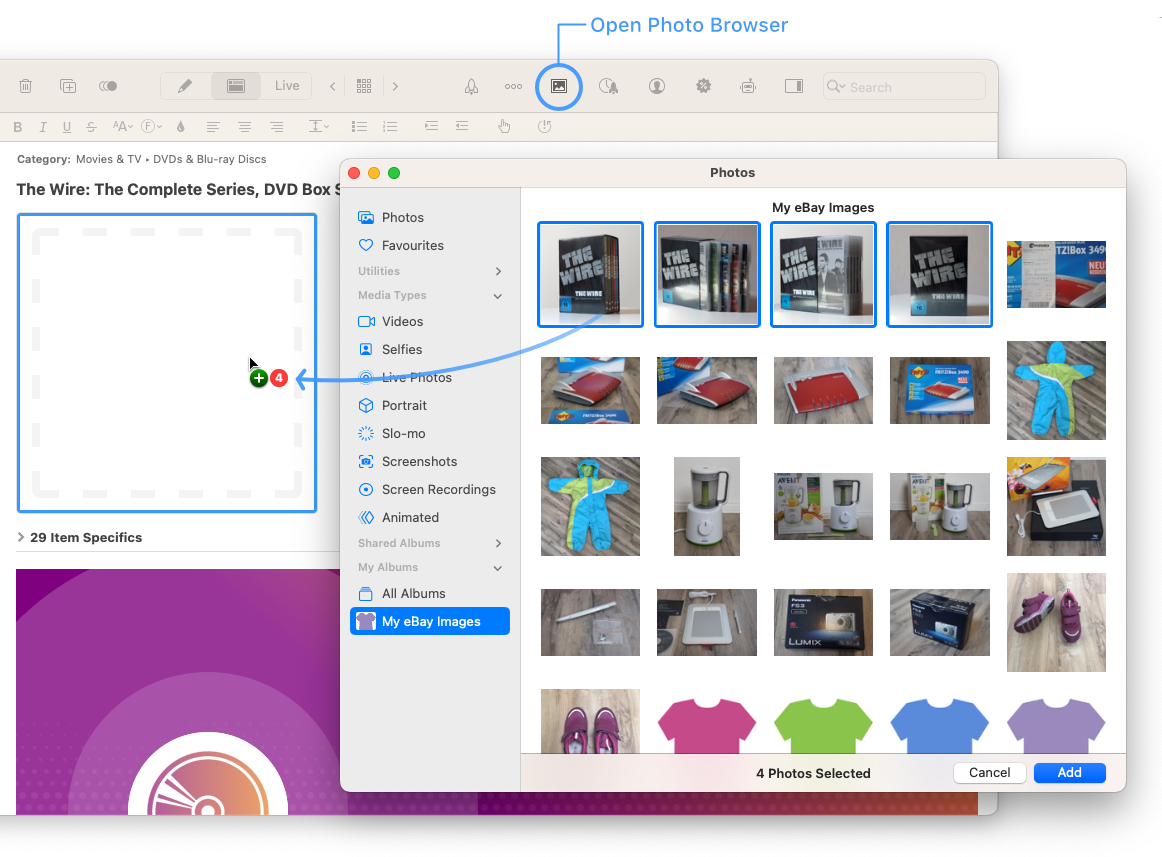
Hint: When using the “Add” button in the new image picker, the added photos are sorted by the order they were selected by the user (unfortunately does not apply to drag & drop)
After you have added images to your listing you can further edit and re-arrange them.
- Re-arranging Images
- Marking an image as the gallery image
- Opening in Image Editor
- Adding Markup
- Editing Name, URL and Caption
- Rotating Images
- Taking Photos with your iPhone
- Deleting Images
 Video Tutorial #9: Editing images
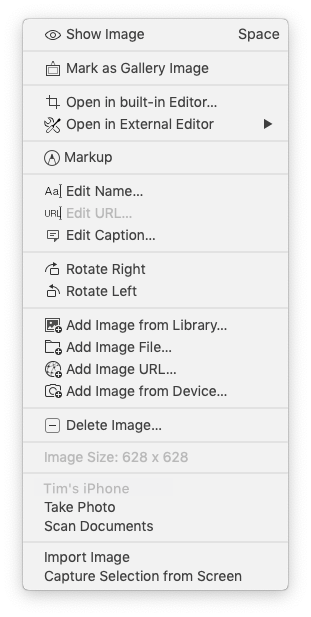
Many of these features can be directly accessed via the context menu (right-click on an image):
Re-arranging Images
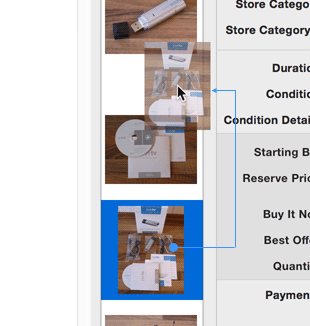
The easiest way to re-arrange the order of the listing images is to drag and drop them to the desired position in the image field in GarageSale’s Editor mode. To be able to drag an image, click on it and keep the mouse button pressed, wait a moment, then you can move the image around. Release the mouse button once the image has reached the desired location.
You can re-arrange images in GarageSale’s Preview mode, too. Simply drag and drop an image onto another image to swap positions:
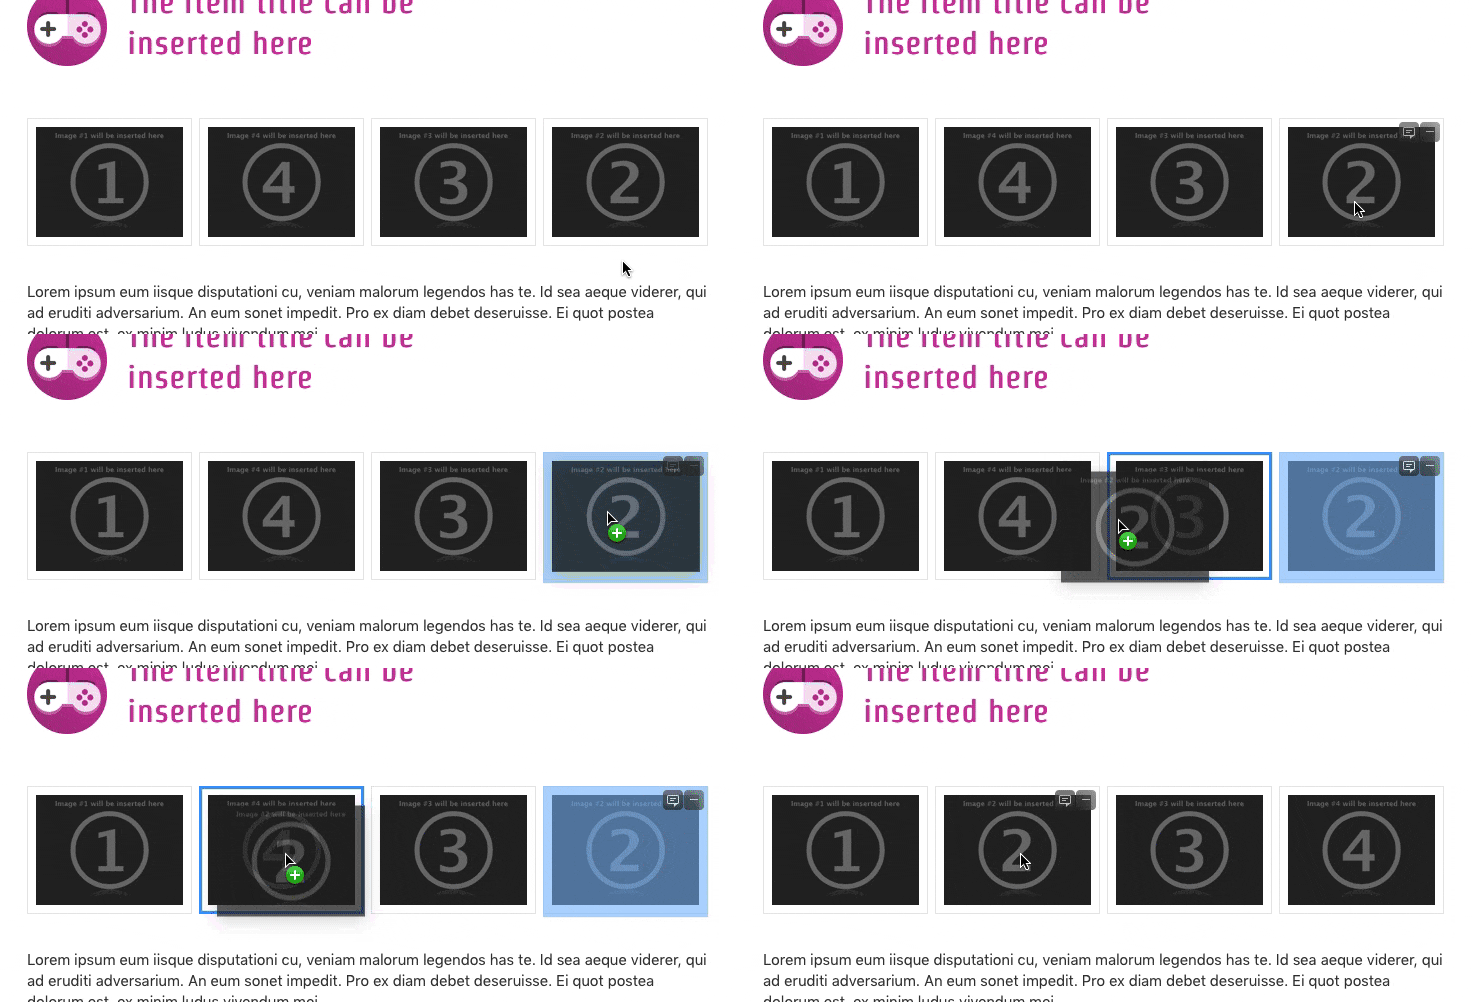
If you use a listing design you can also select from many pre-defined “layout” options giving you the ability to arrange the listing images and item description according to your personal preference.
Marking an image as the gallery image
With eBay’s “Gallery Image” option you can mark one of your images as the image that should be shown next to your item title in the search results on the eBay website. eBay might charge you an additional fee for this option.
To mark an image as the gallery image you can right-click on it and select “Mark as Gallery Image”. Another way is to hit the Gallery Image icon in GarageSale’s Editor mode.

Opening in Image Editor
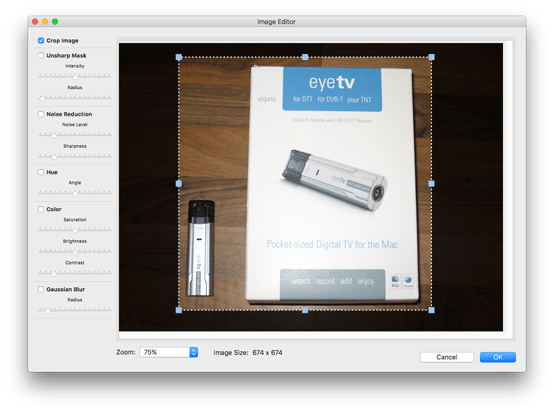
Built-in Image Editor
With GarageSale’s built-in image editor you can crop your image and apply different image filters.
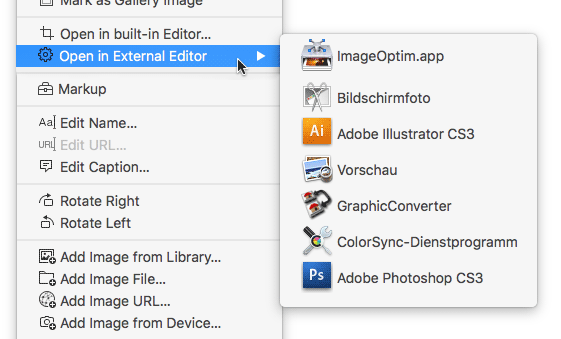
External Image Editor
You can edit images in external editors installed on your system, e.g. in “Preview.app”.
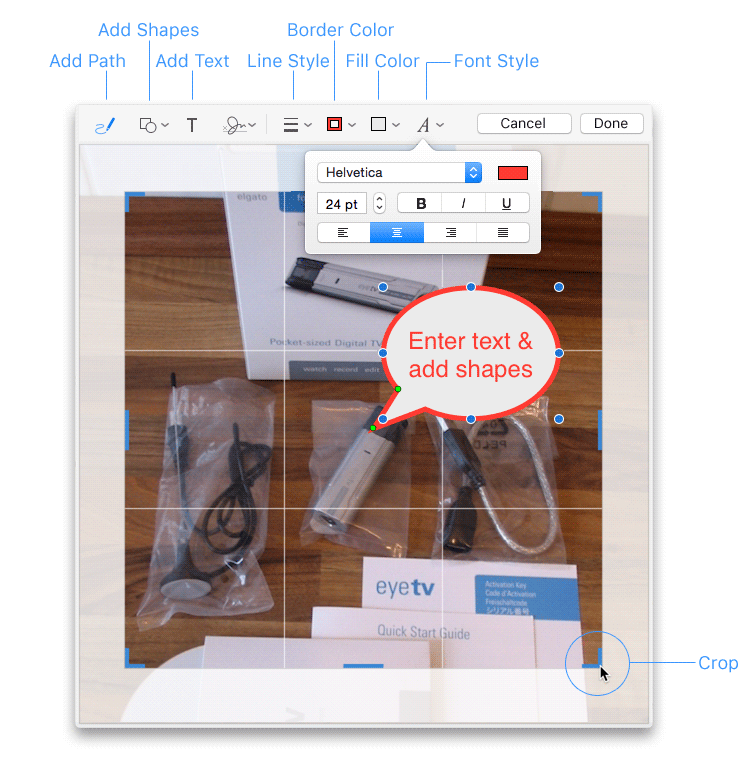
Adding Markup
Easily add free forms, lines, arrows, shapes and text to your image. You can crop images here, too.
Editing Name, URL and Caption
Edit the image name, image URL (only if you use URL images) and image caption. The image name can be used as the image “alt” attribute in the “Properties” Inspector (advanced SEO option).
Rotating Images
You can rotate an image by right-clicking on it and choosing “Rotate Left” or “Rotate Right”.
Another way is to use the “Rotate” commands from the Listing > Images menu.
Taking Photos with your iPhone
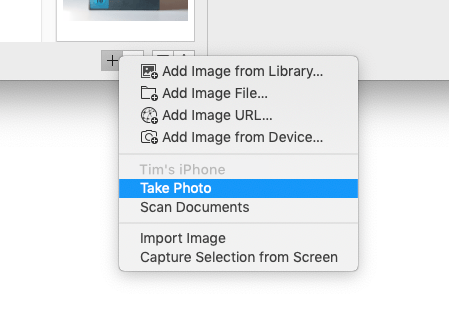
On macOS 10.14 Mojave and higher GarageSale supports the “Continuity Camera” feature. Use your iPhone or iPad to take a picture of your product and it appears instantly as a new image in your GarageSale listing.
To use it open the image context menu (right-click on an image) or click on the “+” button below the image field in Editor Mode. If your iOS device can be found, the corresponding command will appear there.
Requirements:
- Your Mac and iOS device have both Wi-Fi and Bluetooth turned on.
- Your Mac and iOS device are signed in to iCloud with the same Apple ID.
- Your Mac is using macOS Mojave or newer and your iOS device is using iOS 12 or newer.
Deleting Images
There are several ways to delete images from your listings:
- Right-click on an image and select “Delete Image…”.
- In Editor Mode: Select one or more images and hit the delete key on your keyboard.
- In Editor Mode: Select one or more images and hit the “-“ button below the image field.
- In Preview Mode: Hover your mouse over an image and click on the appearing “-“ button.
- To delete all images from the selected listing at once, simply select “Delete All Images…” from the “Listing” menu.
| << Setting Up eBay Listings | Adding Videos >> |